
Last updated November 2, 2026
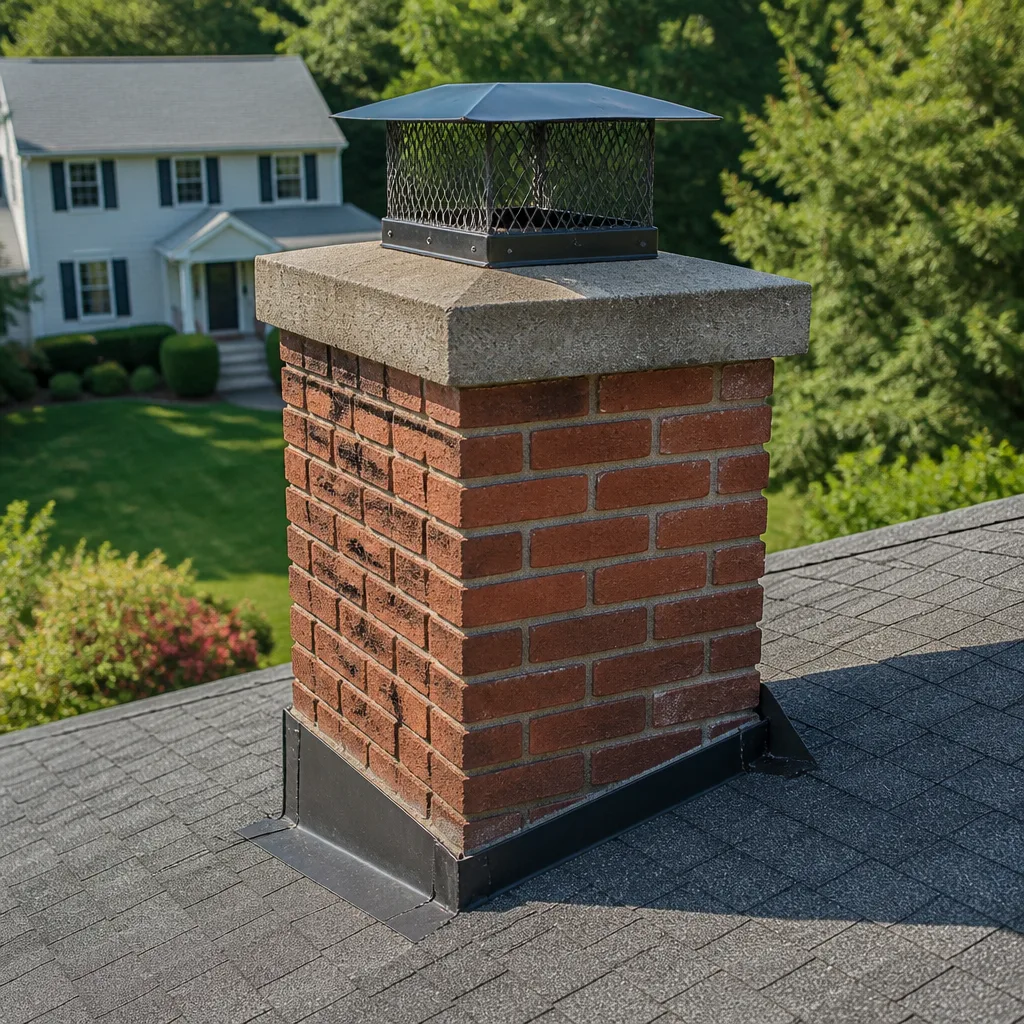 Sweep & inspection
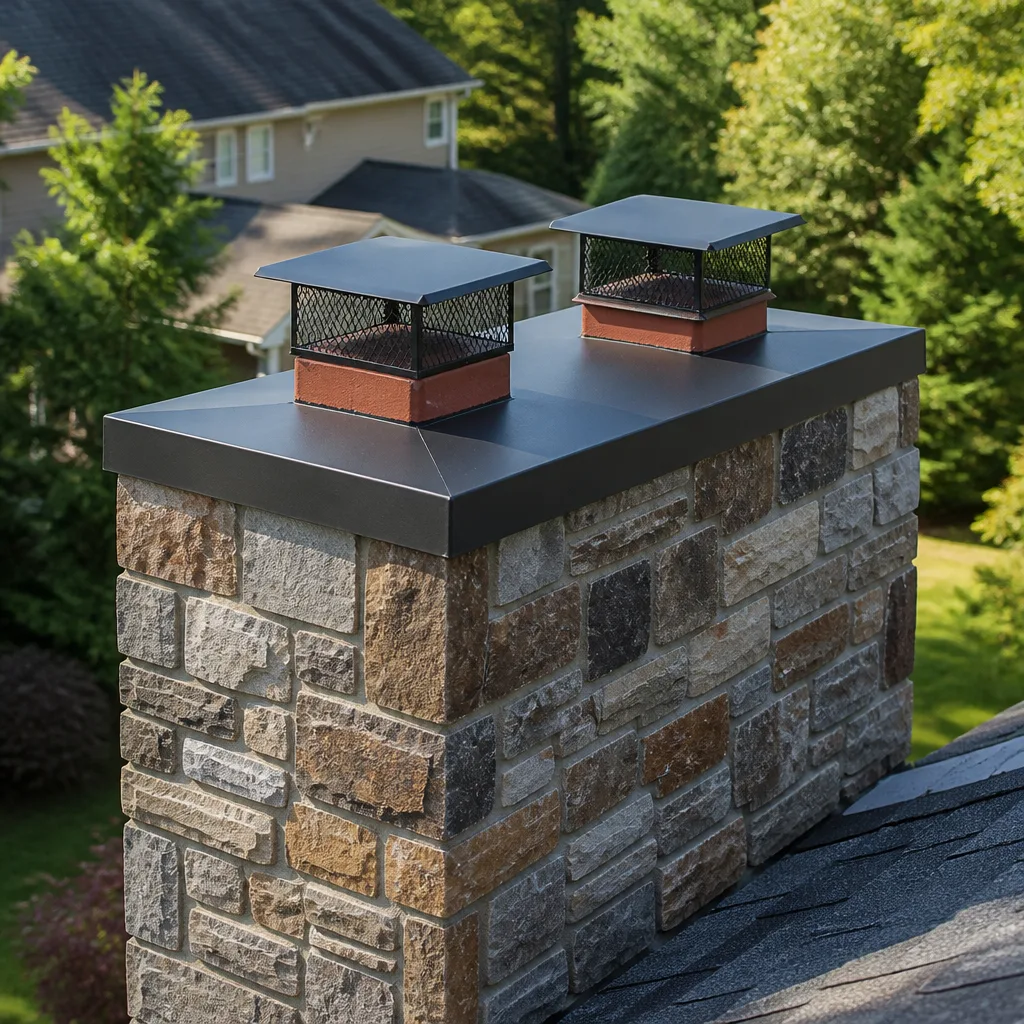 Caps & crowns
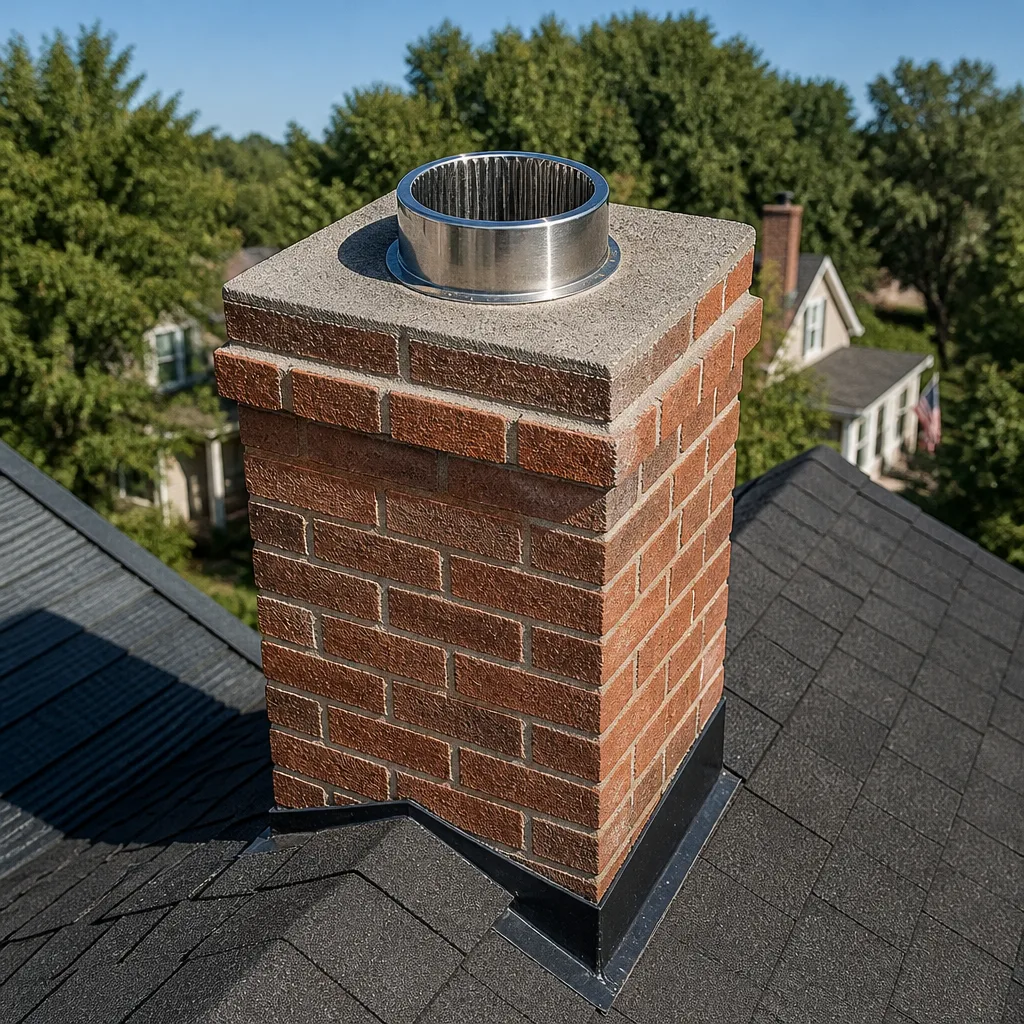 Flue relining
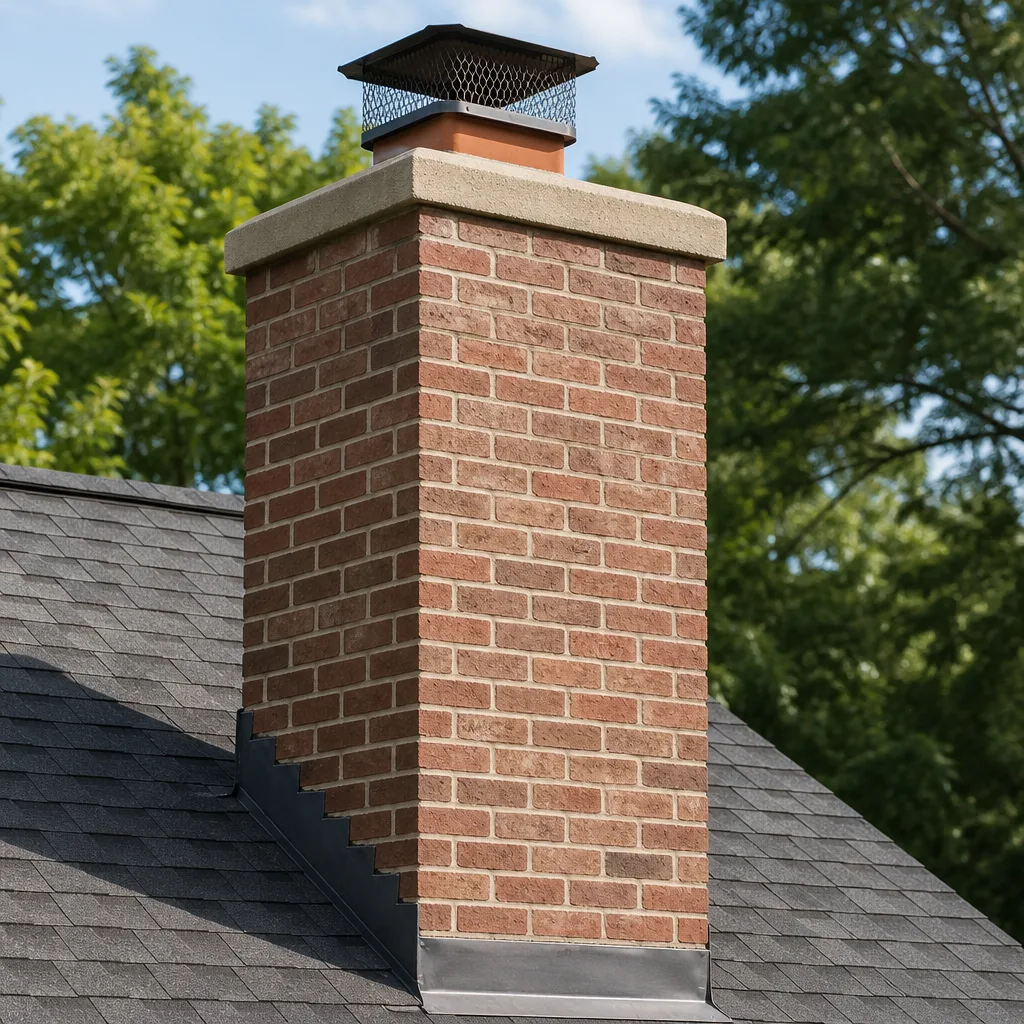 Masonry repair
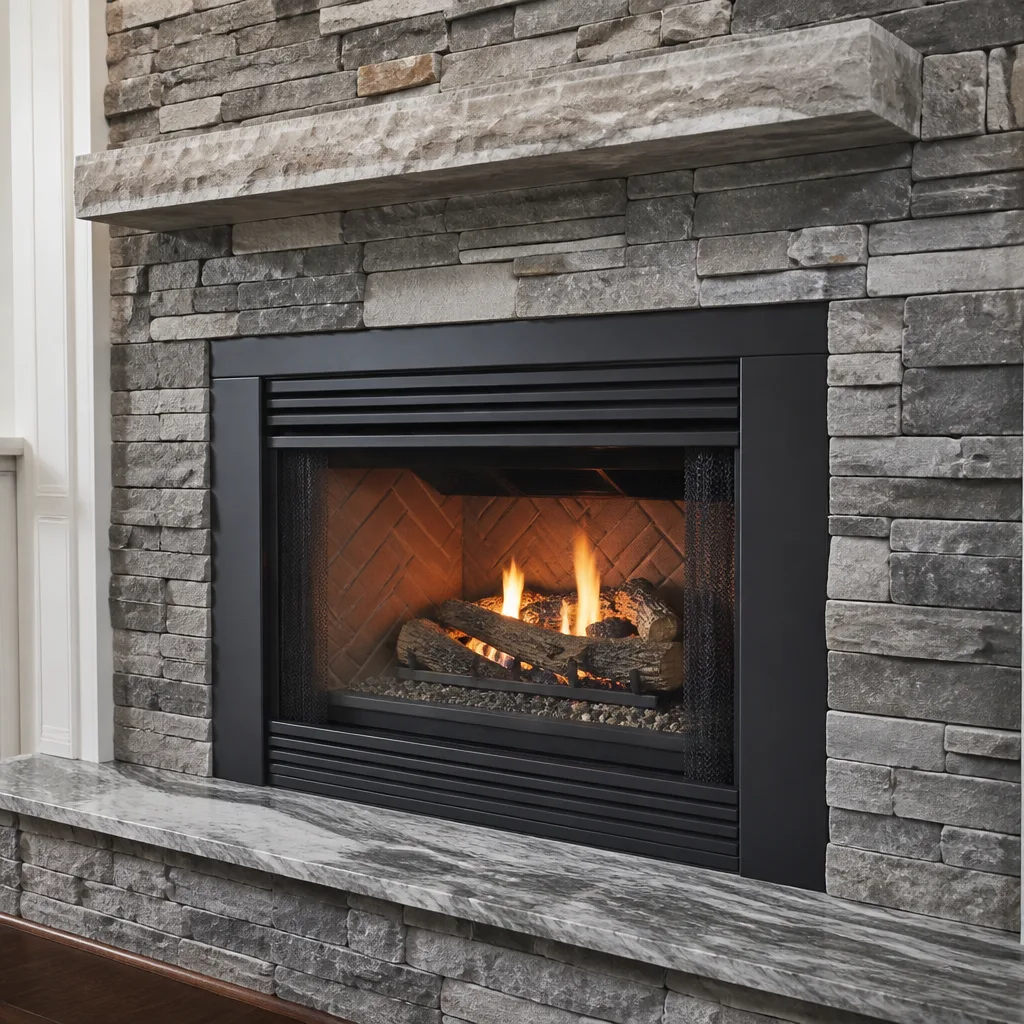 Gas fireplace service
Level 1 sweep and inspection to the NFPA 211 annual standard - flue, crown, cap, and flashing checked and photographed
Chimney sweep logs do not sweep chimneys. They loosen some creosote - which then falls where a brush and vacuum still have to collect it.
Chimney Sweep Maintenance Checklist for La Habra Homeowners
The damper is the most-neglected component in residential chimney systems, yet it’s the first thing that fails. A stuck or corroded damper is the difference between a clean draw and a smoke-filled living room on the first cold night of the season. Most La Habra homeowners learn this the hard way, standing in a haze of smoke while the fireplace refuses to cooperate. This checklist – along with our Chimney Sweep services – walks you through every component of your chimney system, from firebox to cap, in the order problems actually appear. We’ve organized it as a real inspection sequence tied to the failure points we see repeatedly in La Habra homes built before 1990.
Quick Answer
A proper chimney maintenance checklist for La Habra homeowners covers seven components in sequence: firebox, damper, smoke chamber, flue liner, crown, cap, and flashing. You can visually inspect the firebox, damper, crown, and cap yourself, but the flue liner and smoke chamber require a professional camera inspection. A well-maintained chimney should be swept annually if you burn wood, and inspected annually regardless of fuel type.
Styles & brands we work with
- Sweep & inspection
- Caps & crowns
- Flue relining
- Masonry repair
- Gas fireplace service
Table of Contents
- The Firebox: Your First Visual Check
- The Damper: The Most-Neglected Component
- The Smoke Chamber: What You Can’t See
- The Flue Liner: The Critical Middle Section
- The Crown and Cap: Your Weather Defense
- The Flashing: Where Water Gets In
- Santa Ana Winds and Chimney Stress in La Habra
- Documentation Habits That Protect You
- Common Mistakes to Avoid
- When to Call a Professional
- Frequently Asked Questions
The Firebox: Your First Visual Check
The firebox is the chamber where the fire actually burns, and it’s the one place you can inspect without any special equipment. Start with a flashlight. Look at the mortar joints between the firebrick. In La Habra homes built before 1990, we consistently see hairline cracking in the firebox floor and back wall, which develops from years of heating and cooling cycles. Cracks narrower than a dime are often cosmetic, but anything wider or deeper deserves a professional look.
What to check in the firebox:
- Mortar joint integrity: Run your finger along the joints. Crumbling mortar that leaves sandy residue on your hand signals deterioration that will worsen with use.
- Firebrick condition: Look for spalling, which appears as flaking or pitting on the brick face. Spalled brick can’t withstand the same temperatures and accelerates firebox degradation.
- Grate and ash dump: A warped grate can let logs roll against the firebox walls, creating hot spots. Check that the ash dump door, if you have one, opens and closes freely.
- Exterior masonry near the base: Walk outside and inspect the chimney’s lower section where it meets the house. Efflorescence, a white powdery residue, indicates water moving through the masonry.
In our experience, firebox cracks in La Habra often trace back to two things: using manufactured logs that burn hotter than natural wood, or water intrusion from a compromised crown above. If you see a crack in the firebox, don’t immediately assume you need masonry work. The root cause might be a crown or cap issue letting water run down through the system. That’s why a component-by-component approach matters: firebox damage is frequently a symptom, not the original problem.
The Damper: The Most-Neglected Component
The damper sits directly above the firebox, and most homeowners never touch it until something goes wrong. It’s a metal plate that opens to let smoke exit and closes to keep heated air from escaping up the chimney when the fireplace isn’t in use. When it works, you don’t think about it. When it fails, you get smoke backing into the living room or a draft pouring down the chimney all winter.
Here’s the sequence for checking a damper:
- Open and close it fully. With the fireplace cold, reach up and work the damper handle through its full range of motion. It should move smoothly without grinding or hang-ups.
- Look for rust and corrosion. Metal dampers in La Habra homes are exposed to moisture that condenses inside the chimney. Rust on the damper plate or frame means the metal is thinning, and a thin damper warps easily under heat.
- Check the seal. Close the damper and look for light gaps around the edges. A damper that doesn’t seal lets conditioned air escape in summer and cold air drop in during winter.
- Listen for debris. Tap gently on the damper plate with a fireplace tool. A rattle or the sound of loose material above often means creosote or animal debris has accumulated on the damper’s upper surface.
When a damper fails in La Habra, the replacement material matters. Harsh sun exposure and dry air accelerate metal fatigue in cheap hardware-store dampers. Professional-grade replacement dampers, like the ones we source through Gelco, are built with heavier-gauge steel and better hinge tolerances than big-box alternatives. A proper damper replacement should be considered a 15-to-20-year fix, not a recurring annoyance.
One more thing: if your home has a top-sealing damper mounted at the chimney crown instead of a throat damper above the firebox, check it differently. Top-sealing dampers use a cable or chain that runs down the flue. Pull the mechanism and listen for a solid seat at the top. If you hear grit or feel resistance, the damper gasket is likely worn or debris has collected on the seal.
The Smoke Chamber: What You Can’t See
The smoke chamber is the inverted funnel above the damper that channels smoke from the firebox into the narrower flue. It’s one of the most dangerous areas in a chimney system because homeowners can’t see it, and neither could many builders who installed it originally. In homes built before 1990 in La Habra, smoke chambers often have corbeled brick construction with missing mortar joints and jagged surfaces that collect creosote like a trap.
Why the smoke chamber matters:
- Creosote accumulation: Smoke slows as it passes through the wide-to-narrow transition, cooling and depositing creosote on the chamber walls. This is the fuel that feeds chimney fires.
- Access for inspection: The smoke chamber can only be properly assessed with a camera system. A visual check through the firebox with a flashlight shows you only the first few inches of it.
- Repair requirements: Cracked or missing mortar in the smoke chamber allows heat and gases to migrate into the surrounding masonry. Over time, this weakens the entire chimney structure.
During a professional sweep, the smoke chamber should be cleaned with specialized brushes designed for its shape, not just the round brushes used in the flue. A thorough cleaning removes creosote from the corbeled ledges where a straight brush won’t reach. If the mortar joints in your smoke chamber are failing, options include parging, which is applying a smooth refractory mortar to the chamber walls. This is standard practice in a full-service chimney company’s repair scope, and it’s not something you should attempt from below. For Chimney Sweep Troubleshooting: Common Problems and How to Fix Them, see our detailed guide.
Here’s what a homeowner can realistically do: shine a bright flashlight up through the open damper and look for white or crusty deposits on the chamber walls. This is creosote in its early stages. If you see it, book a sweep. Don’t wait until you can smell it from the living room.
The Flue Liner: The Critical Middle Section
The flue liner runs from the smoke chamber to the top of the chimney, and it’s the component that contains the heat and gases moving vertically through your home. Clay tile liners were standard in La Habra homes built before 1990, and those tiles degrade over time. The question isn’t whether they’ll degrade, but how far along they are when someone finally looks.
What happens to clay tile liners in La Habra’s climate:
- Thermal cracking: Evening fires followed by cool nights create repeated expansion and contraction cycles. Over decades, this stress fractures the clay.
- Moisture damage: Water intrusion through a cracked crown or damaged cap penetrates the clay tile, and when wet tile heats up, it can spall and flake.
- Creosote buildup in the gaps: Once cracks open, creosote fills them, putting uninsulated combustible material directly against the chimney structure.
Here’s the thing most chimney maintenance checklists miss: you cannot assess your flue liner yourself. You can’t see it from the top without specialized equipment, and you can’t see it from the bottom past the smoke chamber. A camera inspection is the only way to document liner condition. Any company that sweeps your chimney but doesn’t inspect the liner with a camera is doing half the job.
If the camera shows deteriorated tiles, you have two main paths. Full relining with a DuraFlex flexible stainless steel system gives you a continuous, insulated liner that carries a structural warranty. The alternative, suitable for less extensive damage, is a restoration approach using HeatShield, which repairs damaged flue sections without tearing out the original liner. HeatShield restoration is a specialized capability that not every sweep in the La Habra area offers, and it’s worth asking about before assuming you need a full reline. See Choosing the Right Chimney Cleaning Brand: A Buyer’s Guide for La Habra for guidance on selecting quality materials. The material grade matters here: professional-grade liner systems are manufactured to UL standards and are tested for the temperatures a wood-burning fireplace reaches. Hardware-store liners aren’t built for that load.
The Crown and Cap: Your Weather Defense
The crown is the concrete slab that seals the top of the chimney around the flue, and the cap is the metal cover that sits over the flue opening. Together they keep water, animals, and debris out of the system. In La Habra, where rain is seasonal but Santa Ana winds are recurring, these two components take more abuse than most homeowners realize.
Crown inspection points:
- Cracks in the crown surface: Hairline cracks widen with freeze-thaw cycles, but even in La Habra’s mild winters, expansion from afternoon sun does the same work slower. Caught early, minor crown cracks can be sealed. Left alone, water works through and degrades the masonry below.
- Separation from the flue tile: Where the crown meets the clay tile, the seal often fails first. A visible gap is a direct water inlet.
- Slope and overhang: A proper crown slopes away from the flue and extends past the chimney edge. Flat crowns or ones that stop flush with the brick face encourage water to run down the masonry.
Cap inspection points:
- Bent or missing screens: The mesh screen around the cap keeps birds, squirrels, and debris out. When the screen is damaged or missing, animals get in and build nests, which is a fire hazard and a blockage.
- Rust through the cap body: Most caps are stainless steel or galvanized steel. In La Habra’s dry air, galvanized caps last but eventually show rust at the seams. Once rust perforates, replace.
- Loose mounting: A cap that rattles or shifts means the mounting screws or brackets have loosened. In a Santa Ana wind event, a loose cap can lift off entirely.
When a cap needs replacement, we reach for Famco or Copperfield components. These manufacturers build caps with heavier stainless steel and stronger welds than the generic imports, and in a high-UV environment like La Habra, cheap powder coat finishes break down fast. A proven cap material lasts longer and keeps its shape through wind gusts that turn a thin cap into scrap metal.
The Flashing: Where Water Gets In
Flashing is the metal seal where the chimney meets the roofline. If the flashing fails, water travels down along the chimney chase and into the attic or ceiling, often showing up as a stain nowhere near the actual leak point. Flashing failure is one of the top causes of ceiling water damage we see in La Habra homes with masonry chimneys.
Here’s what to check from the roofline or with binoculars from the ground:
- Lifted or peeling flashing edges: The metal should lie flat against both the roof and the chimney. Any lifting means the seal has broken.
- Missing sealant or deteriorated caulk: Roofers and original builders used caulk that breaks down after 10 to 15 years in Southern California sun. If the caulk bead is cracked or gone, water gets behind the flashing.
- Rust on the flashing body: Flashing made of thin galvanized steel or aluminum eventually oxidizes. Rust spots indicate thinning metal that will fail soon.
- Gaps at the counter-flashing joint: Counter-flashing is the piece embedded in the chimney masonry that overlaps the base flashing. If the mortar holding it has crumbled, the counter-flashing separates, and water runs behind both pieces.
Flashing repair usually means re-sealing or replacing the metal, but the root cause matters. If the flashing failed because the masonry around it is cracked and letting water in from above, fixing only the flashing delays the problem, it doesn’t stop it. A proper chimney inspection traces the full water path before recommending repairs.
Roof-level work on a chimney is genuinely dangerous, especially on a two-story La Habra home with a steep pitch. We don’t recommend homeowners climb onto their roofs with a trowel and caulk gun. The inspection can be done from the ground with binoculars, and the actual repair should be handled by someone who works at height with proper equipment.
Santa Ana Winds and Chimney Stress in La Habra
La Habra sits in a wind corridor that catches gusts from the Santa Ana events that roll through the region in fall and early winter. These winds stress chimney components differently than ordinary weather exposure, and most generic maintenance checklists don’t account for them.
What Santa Ana winds do to a chimney system:
- Cap stress from repeated gusts: The cap is the flat surface most exposed to lateral wind force. Over several Santa Ana events in a single season, a cap with mediocre mounting will work loose at the brackets. We see caps shifted or rattling in La Habra after the first strong wind event of the fall.
- Crown debris loading: High winds drive leaves, branches, and dust onto the crown. If the cap screen is damaged, this material drops into the flue. Even with an intact screen, debris piles around the flue base and traps moisture against the crown and masonry.
- Downdraft pressure: Strong gusts can force air down the flue, which stresses the upper liner sections and pushes any loose creosote down toward the smoke chamber. This is also a real-world fire risk: a downdraft over an active fire pushes smoke and embers where they shouldn’t go.
- Sealant degradation: Alternating wind-blown grit and afternoon sun acts like sandpaper on exterior sealant joints. The caulk around flashing and crowns erodes faster in La Habra’s wind corridors than in sheltered neighborhoods.
If you live in a neighborhood that gets the brunt of Santa Ana winds, such as areas near the hills that funnel air through the passes, check your cap and flashing at the start and end of the wind season. A quick look with binoculars after a strong event can catch a loosened cap before it becomes a missing cap.
Documentation Habits That Protect You
A chimney maintenance checklist is only as good as your record-keeping. We recommend homeowners maintain a simple folder, physical or digital, with documentation for every chimney service, and explore more guides & resources to stay informed. This isn’t paperwork for its own sake. The right records support insurance claims after a chimney fire, help a service company diagnose repeat problems faster, and establish a maintenance history if you ever sell the home.
What to keep in your chimney file:
- Service dates and scope: The date of every sweep or repair, what was done, and who did it. A simple one-line entry after each service is enough.
- Photos of trouble areas: Take photos of your firebox, damper, and cap during your own checks. If a crack widens between inspections, the photo record shows the progression and helps a technician understand whether it’s stable or active.
- Fuel type log: Note whether you burn seasoned hardwood, manufactured logs, or occasional treated wood. Different fuels create different creosote conditions, and the log helps a sweep recommend the right interval for your situation.
- Crown and liner inspection reports: If a professional has scoped your flue, keep the images they provide. Before-and-after liner documentation is worth having if a future repair claim needs supporting evidence.
- Repair receipts: Every replacement part, from a damper to a cap to a full liner system, should be documented with the part brand and installation date.
The documentation habit matters because chimney damage is often slow-moving. A crack that looks minor this year and shows no change in next year’s photo is likely stable. The same crack widening over two consecutive inspections is an active problem. Without the record, every inspection starts from zero.
Common Mistakes to Avoid
- Skipping the annual inspection because the fireplace “looks fine.” The firebox can look clean while the flue liner above is cracked and unsafe. The dangerous parts of a chimney are the ones you can’t see from the living room.
- Burning the wrong materials. Pressure-treated wood, wrapping paper, cardboard, and trash all create either chemical fumes or flare-ups that stress the flue liner and accelerate creosote buildup. Burn seasoned hardwood only, or manufactured logs designed for fireplace use.
- Using generic hardware-store parts for repairs. A cheap damper or cap may fit, but it won’t last in La Habra’s sun and Santa Ana conditions. Professional-grade components cost more and are designed for the load.
- Ignoring a draft problem. If smoke backs up into the room, something is wrong. The damper, the liner, or the flue has changed. Running the fireplace despite a draft problem deposits soot and creosote in places a standard sweep won’t reach fully.
- Waiting until fall to book a sweep. La Habra’s chimney service window fills up after the first cold snap, and seasonal demand peaks right before the holidays. Booking in late summer or early fall means you’ll get the appointment slot you want, not the one left over.
- Sealing up every symptom without finding the cause. A rust stain on the ceiling near the chimney means water is getting in somewhere above. Caulking the visible stain doesn’t stop the water, and the problem compounds while you wait.
- Skipping the dryer vent if it’s never been addressed. It’s not a chimney component, but a clogged dryer vent is one of the leading causes of household fires in the U.S. If you’re documenting chimney safety, the dryer vent belongs in the same file. Dryer vent cleaning is part of the same ventilation safety scope we handle in tandem with chimney work.
When to Call a Professional
You can inspect the firebox, damper, cap, and flashing yourself with a flashlight and binoculars. You cannot assess the smoke chamber, flue liner, or the internal condition of the damper assembly without professional equipment and a camera. Here’s the practical rule: if your visual check shows anything outside of normal, or if you haven’t had a camera inspection in more than two years, call for a professional evaluation.
Specific situations that warrant a call without delay: visible smoke backing into the room, a strong creosote smell that persists after sweeping, water stains on the ceiling near the chimney, a damp or rusted firebox, or a cap that has shifted or lifted. Any of these indicates a problem that’s already underway. Chimney Sweep La Habra offers free estimates in the La Habra area, and we carry the inspection equipment to document exactly what’s happening inside your flue before quoting any repair. Call (866) 747-8330 to schedule.
Frequently Asked Questions
A chimney that sees regular wood burning should be cleaned once per year, ideally before the burning season starts in late fall. The National Fire Protection Association recommends cleaning when creosote reaches 1/8 inch thickness, which for most La Habra homeowners translates to annual or every-other-season sweeping depending on burn frequency and fuel type. If you burn unseasoned wood or use the fireplace more than three times per week during winter, clean annually without exception. Call (866) 747-8330 to schedule a cleaning before the fall rush.
A standard chimney sweep and inspection in La Habra typically runs between $150 and $300, depending on the condition of the flue, access to the roof, and whether any specialty cleaning is required for heavy creosote or animal debris. Camera inspection may be included or added depending on the company. For an exact quote, call (866) 747-8330; estimates are free.
Not necessarily. Cracked clay tiles indicate the liner is failing, but the solution depends on how extensive the damage is. If the cracks are isolated, a HeatShield restoration can repair the damaged sections without removing the original tile. If the damage is widespread or the tiles have shifted, a full DuraFlex stainless relining is the correct fix. A camera inspection tells you which path applies, and any reputable company should show you the footage before quoting either option. Call (866) 747-8330 to schedule an inspection.
Creosote accumulates in the flue and smoke chamber, building up a fuel layer that can ignite and become a chimney fire. Chimney fires burn hot enough to crack clay tiles, melt mortar, and spread to the house structure. Even without a fire, water intrusion through a cracked crown or failed flashing keeps eroding the masonry, and the repair bill grows every season you wait. The short version: skipping maintenance converts a $200 sweep into a $4,000+ structural repair, and it risks the house.
We don’t recommend it. A homeowner with a brush kit from the hardware store can knock loose soot from the flue, but that doesn’t accomplish the two things a professional sweep actually does: thorough creosote removal from the smoke chamber and ledges in the flue, and inspection of the liner condition with a camera. The brushing is the smallest part of the job. The inspection is what protects you. Additionally, climbing onto a rooftop with a brush and ladder is dangerous work, and the fall risk isn’t worth the savings.
Because the chimney is a structural opening in your house even when the fireplace isn’t in use. A missing or damaged damper seal leaks conditioned air in summer, a cracked crown lets water in during the occasional winter rain, and Santa Ana winds stress the cap and flashing all fall and winter. The chimney doesn’t stop deteriorating in July. Year-round component awareness catches problems when they’re small instead of after they’ve caused damage. Chimney sweeping in nearby South San Jose Hills follows the same year-round principle: the flue is part of the house, not just a winter appliance.
The Bottom Line
A useful chimney maintenance checklist in La Habra follows the component sequence: firebox, damper, smoke chamber, flue liner, crown, cap, and flashing. You can self-assess the firebox, damper, crown, and cap with a flashlight and binoculars. The smoke chamber and flue liner need a professional camera inspection, period. Santa Ana winds make cap and flashing checks more important in La Habra than in sheltered communities, and documentation habits protect you when problems move slowly. The goal isn’t a clean checklist; it’s a chimney system that works safely, year after year, without surprises. If you’ve found something on this checklist that needs attention, chimney repair work in the South San Jose Hills and La Habra areas starts with a camera-proven diagnosis, not guesswork.
Written by the team at Chimney Sweep La Habra, serving La Habra since 2014.
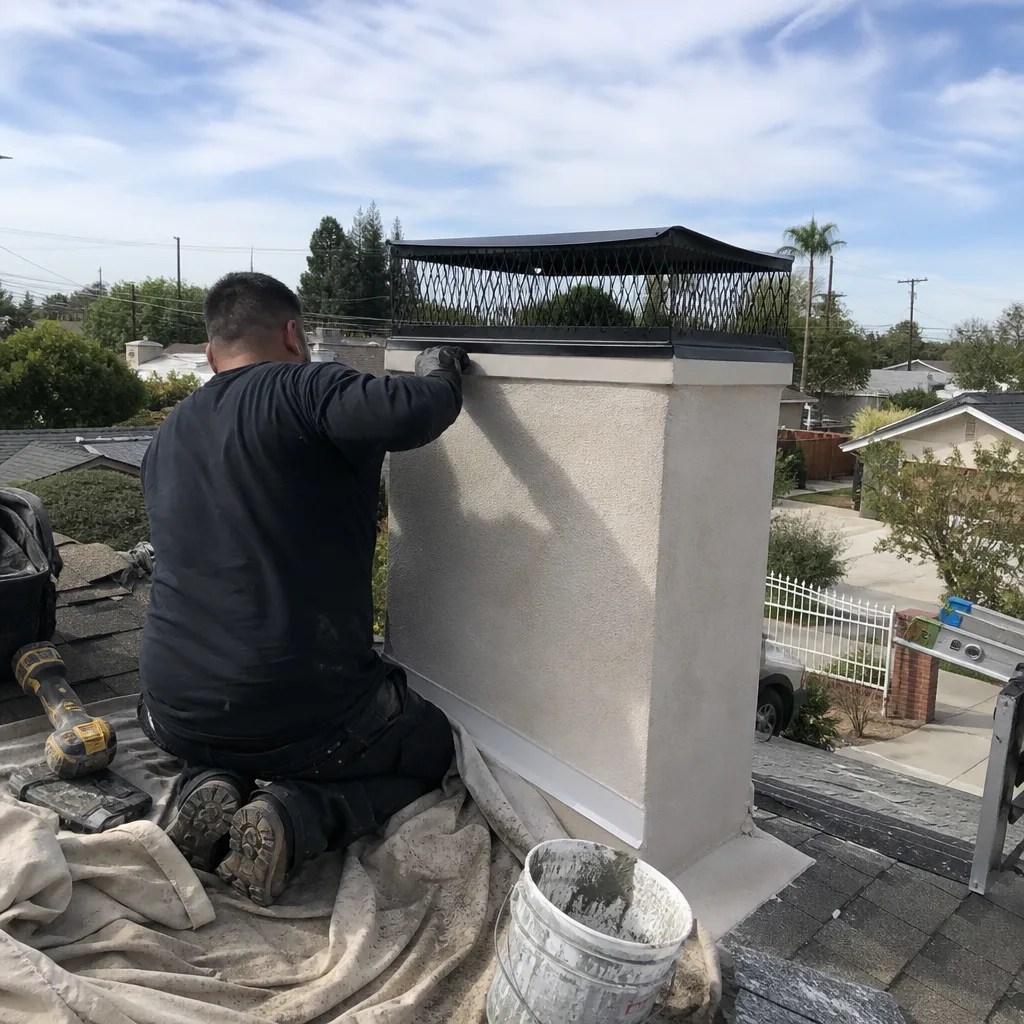
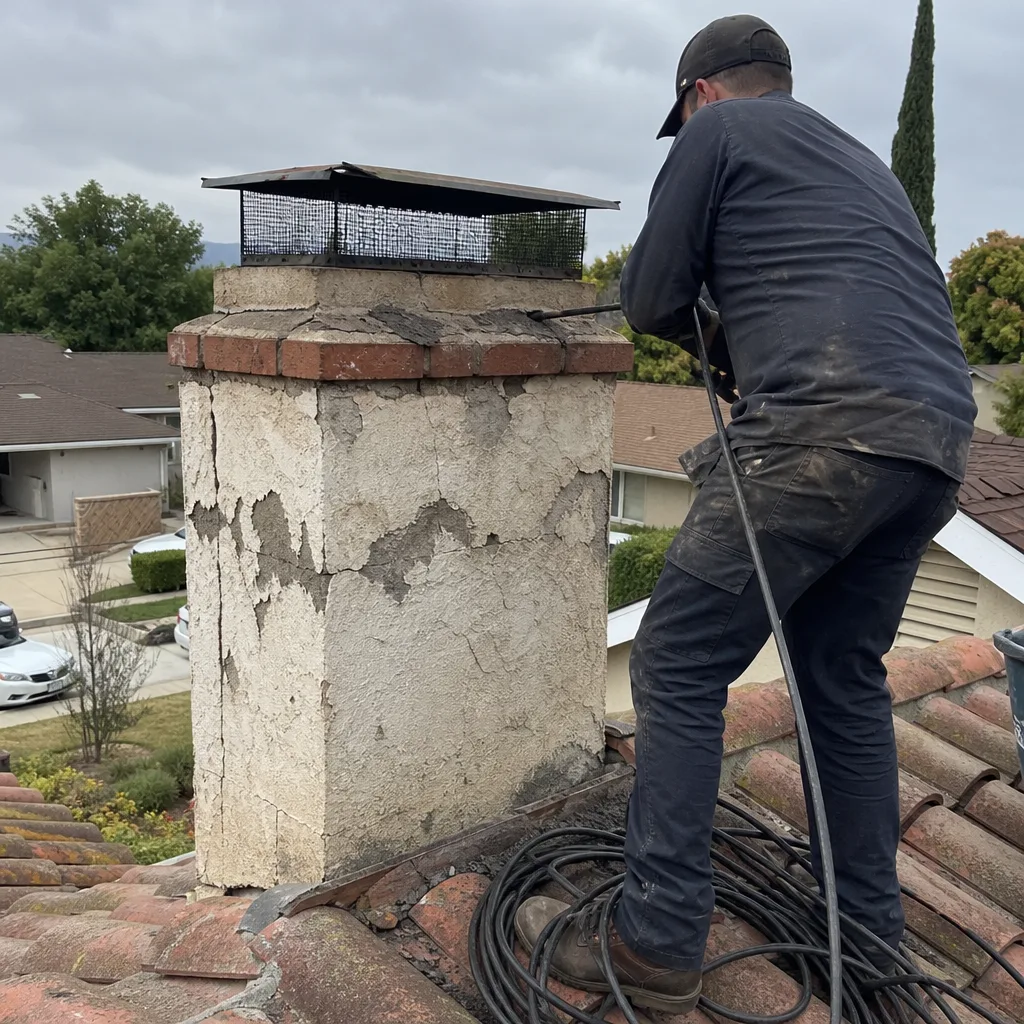
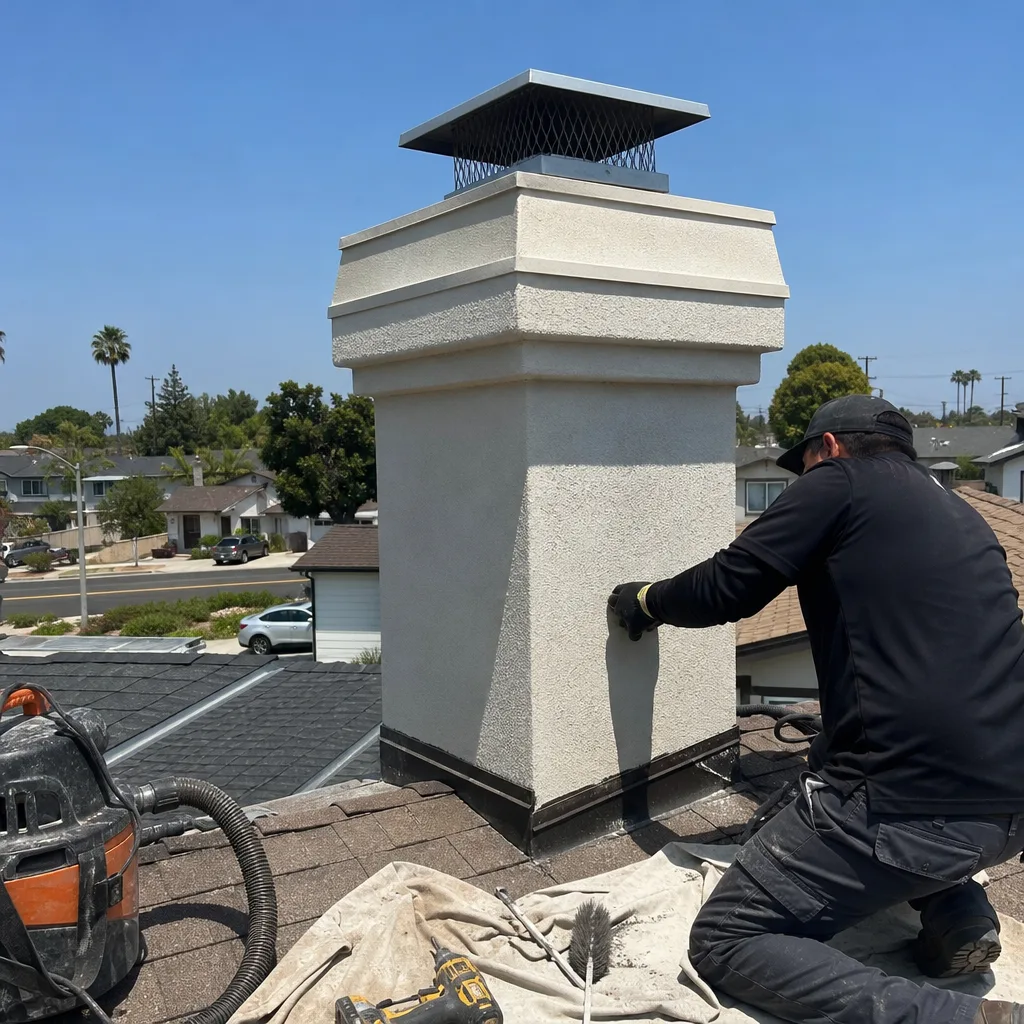
See the difference
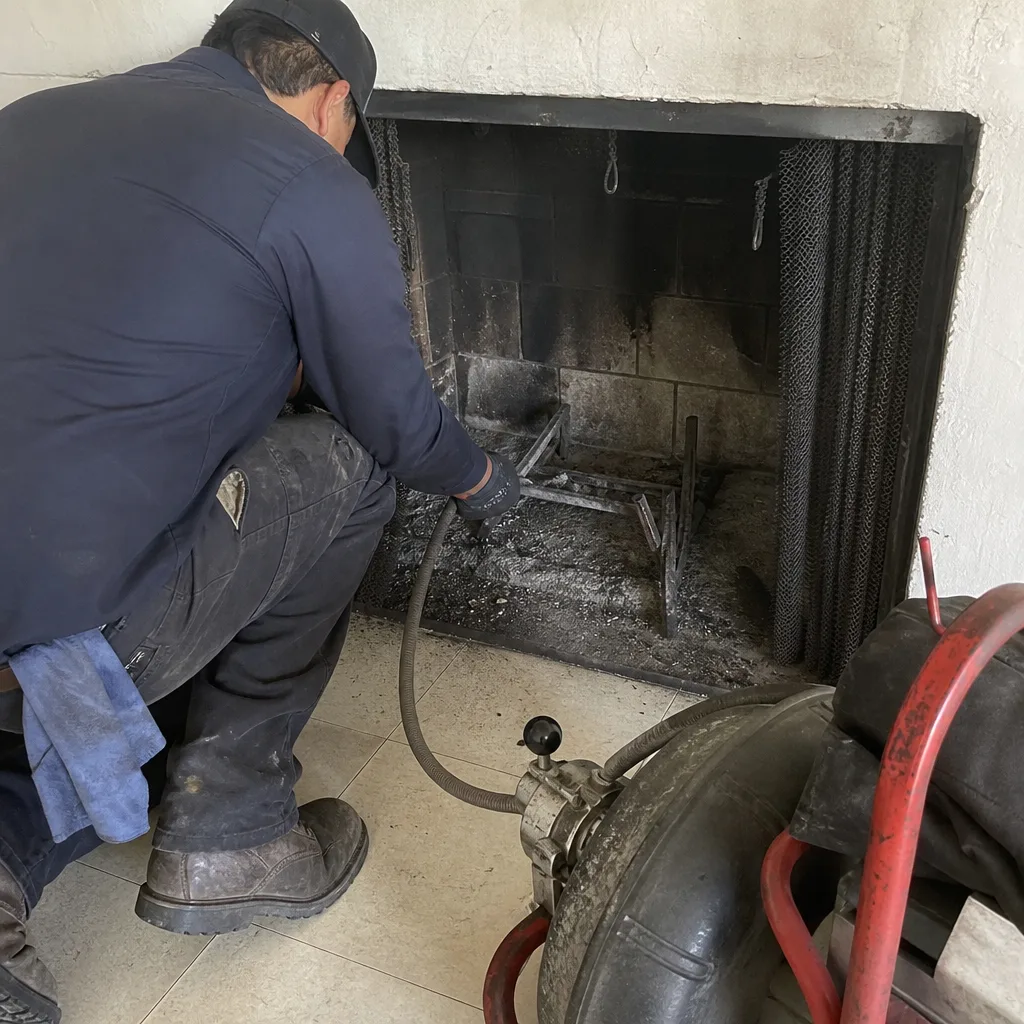 Before
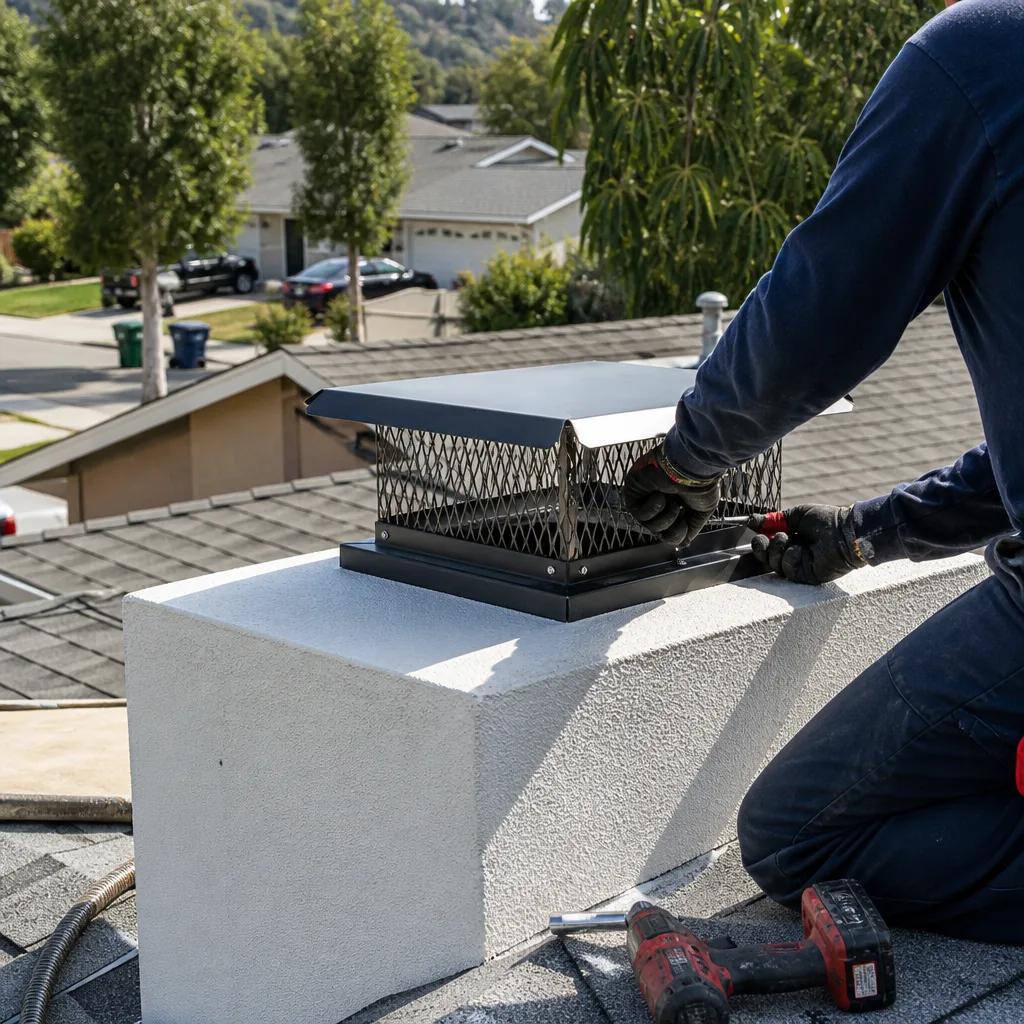 After
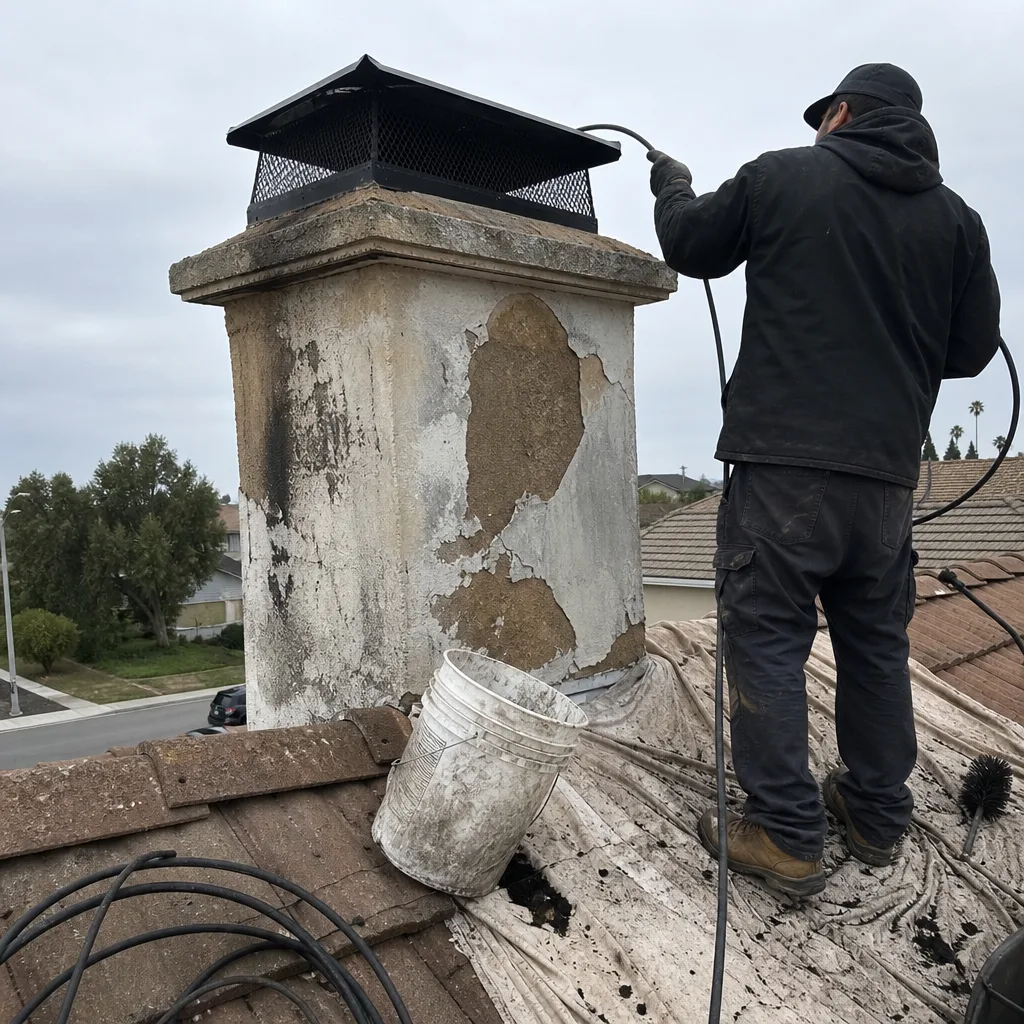 Before
 After
 Before
 After